Add OAuth to your MCP server with Auth0 (2026, no proxy)
A start-to-finish Auth0 setup for MCP connectors, verified live: free signup, dynamic client registration, native RFC 8707 resource support, and a Worker that validates Auth0 JWTs offline. Every step was executed for real and screenshotted.
Updated
On this page
We created a fresh Auth0 account, configured the tenant through the Management
API, deployed a test MCP resource server on Cloudflare Workers, and ran a real
token through the whole chain. The steps below are what that took. The testbed
it produced runs at https://qo-test-auth0.rough-disk-9b56.workers.dev/mcp and
our RL suite checks it on every deploy.
Auth0 in 2026 no longer needs the audience-proxy workaround from our older
Auth0 proxy guide. New
tenants ship with resource_parameter_profile: "audience", which maps the MCP
client’s RFC 8707 resource parameter onto Auth0’s audience concept, and OIDC
dynamic client registration is one tenant flag away. Point your protected
resource metadata straight at the tenant.
1. Sign up (free, no credit card)
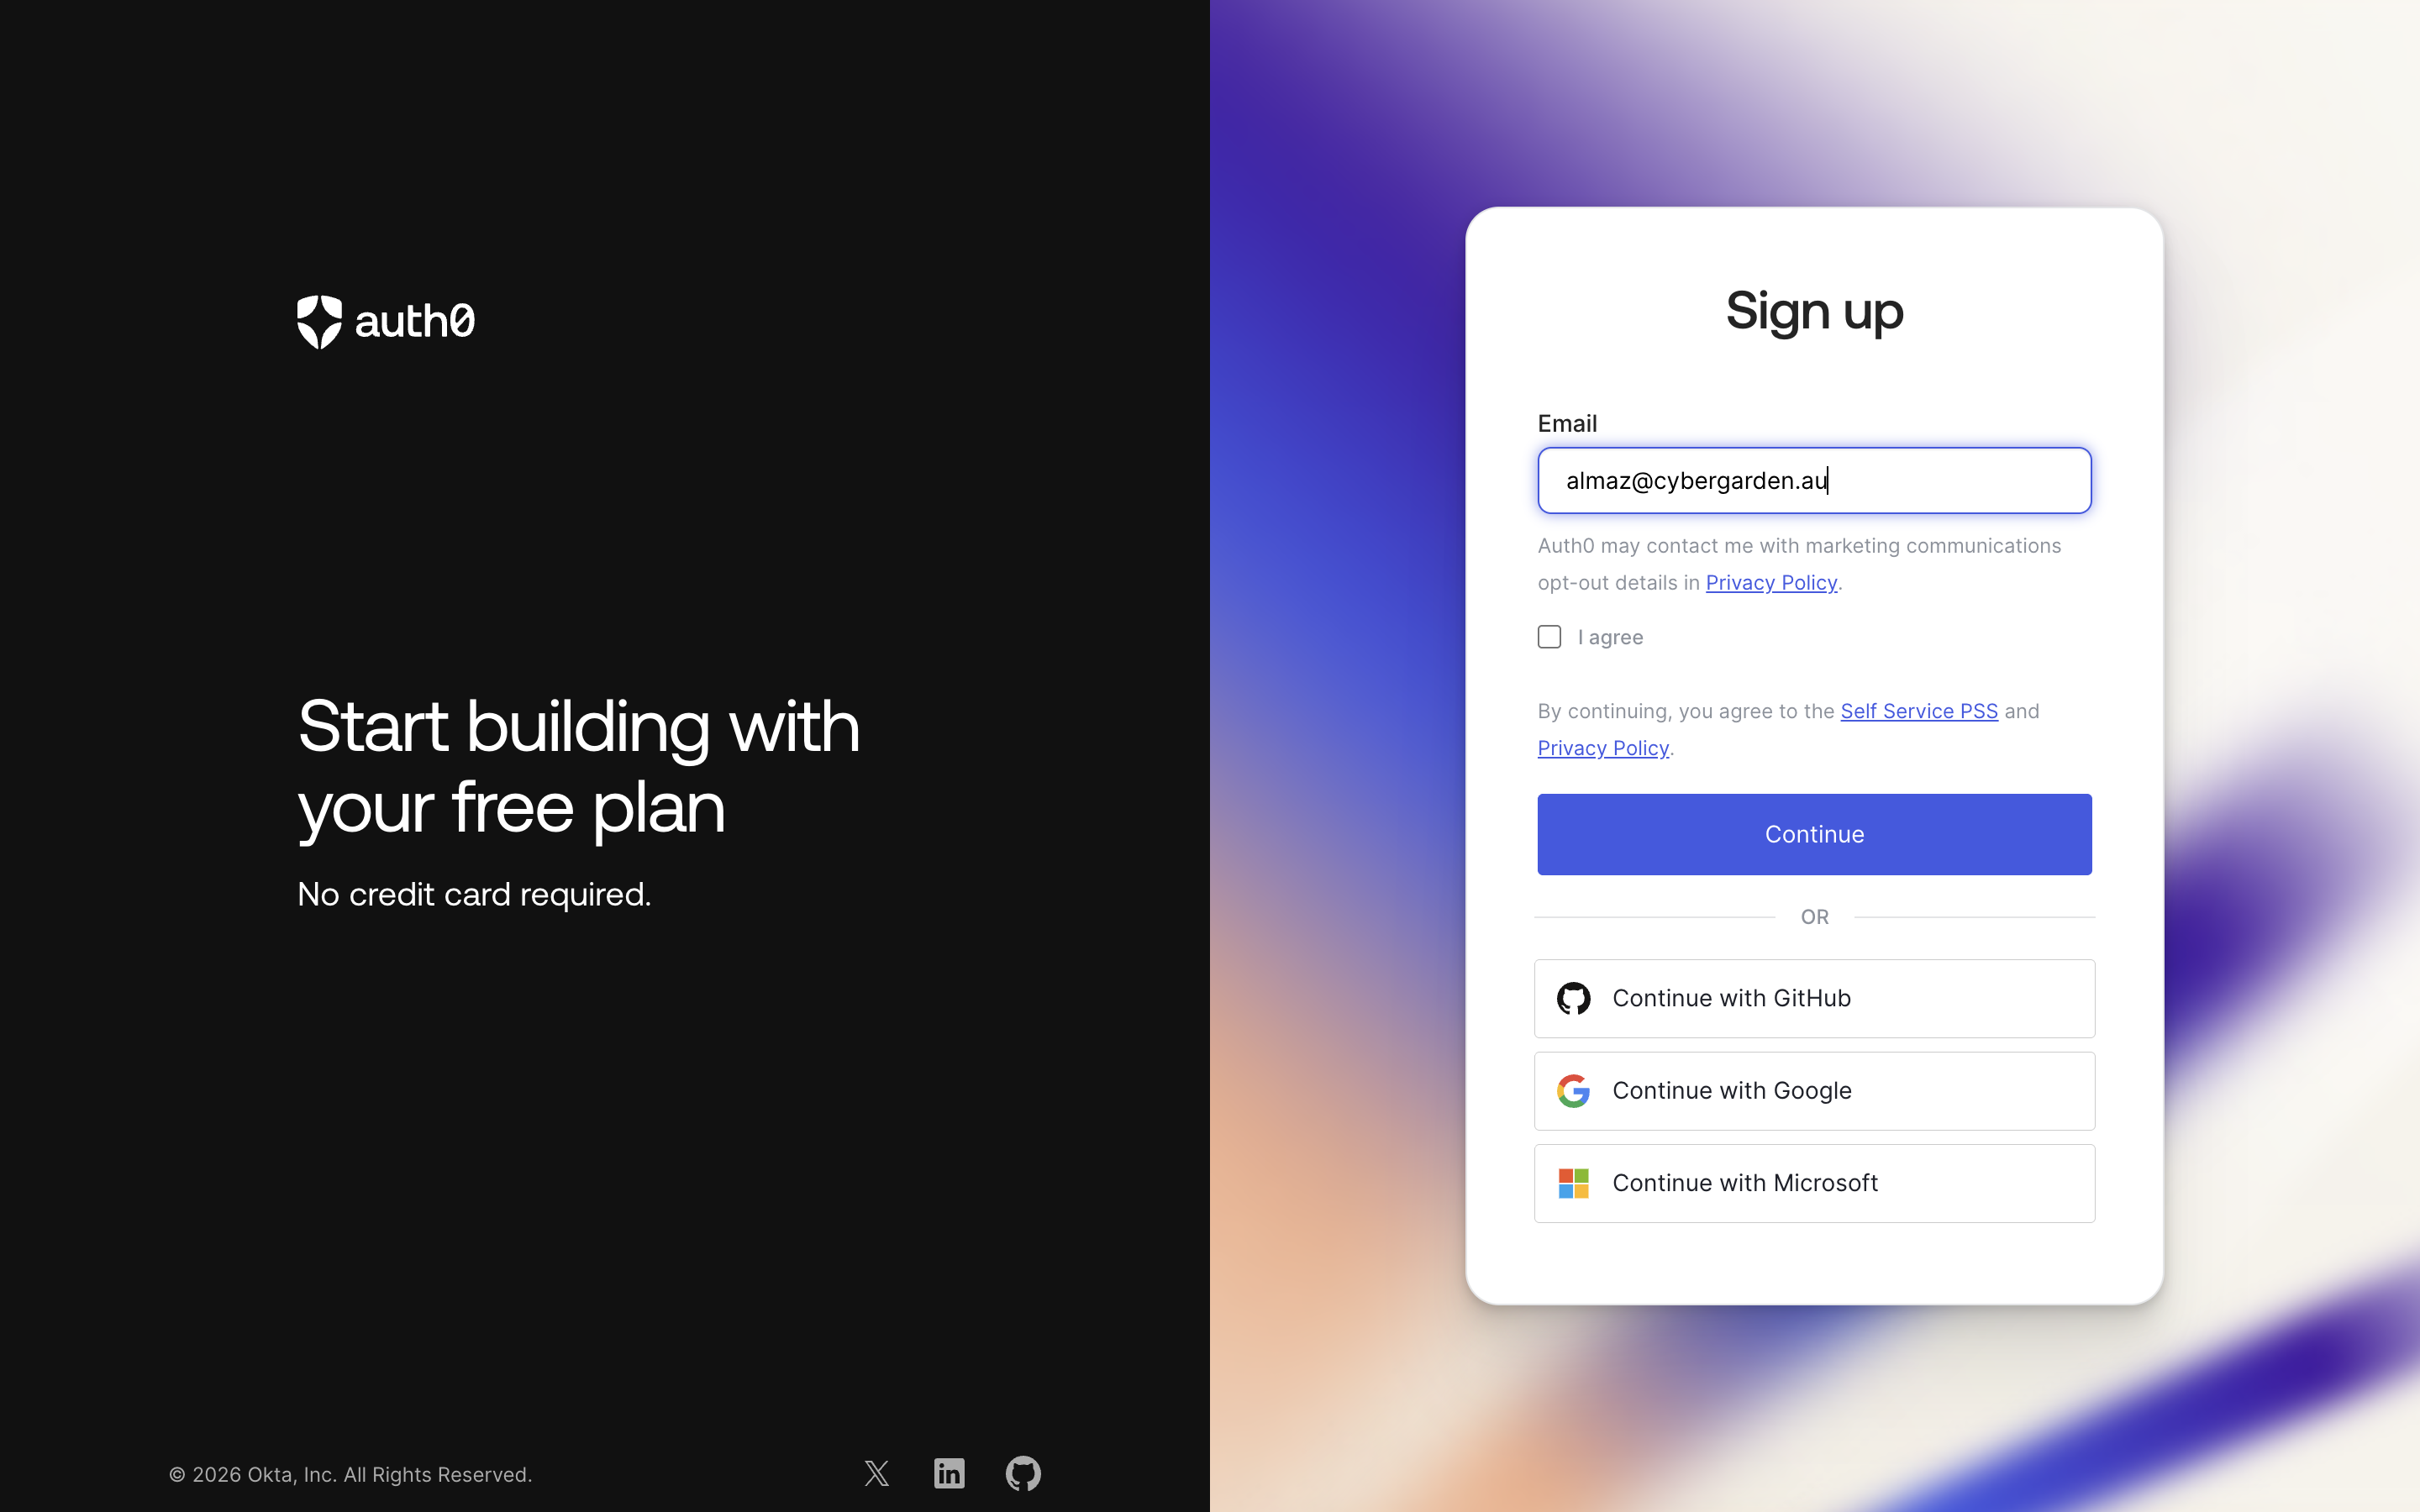
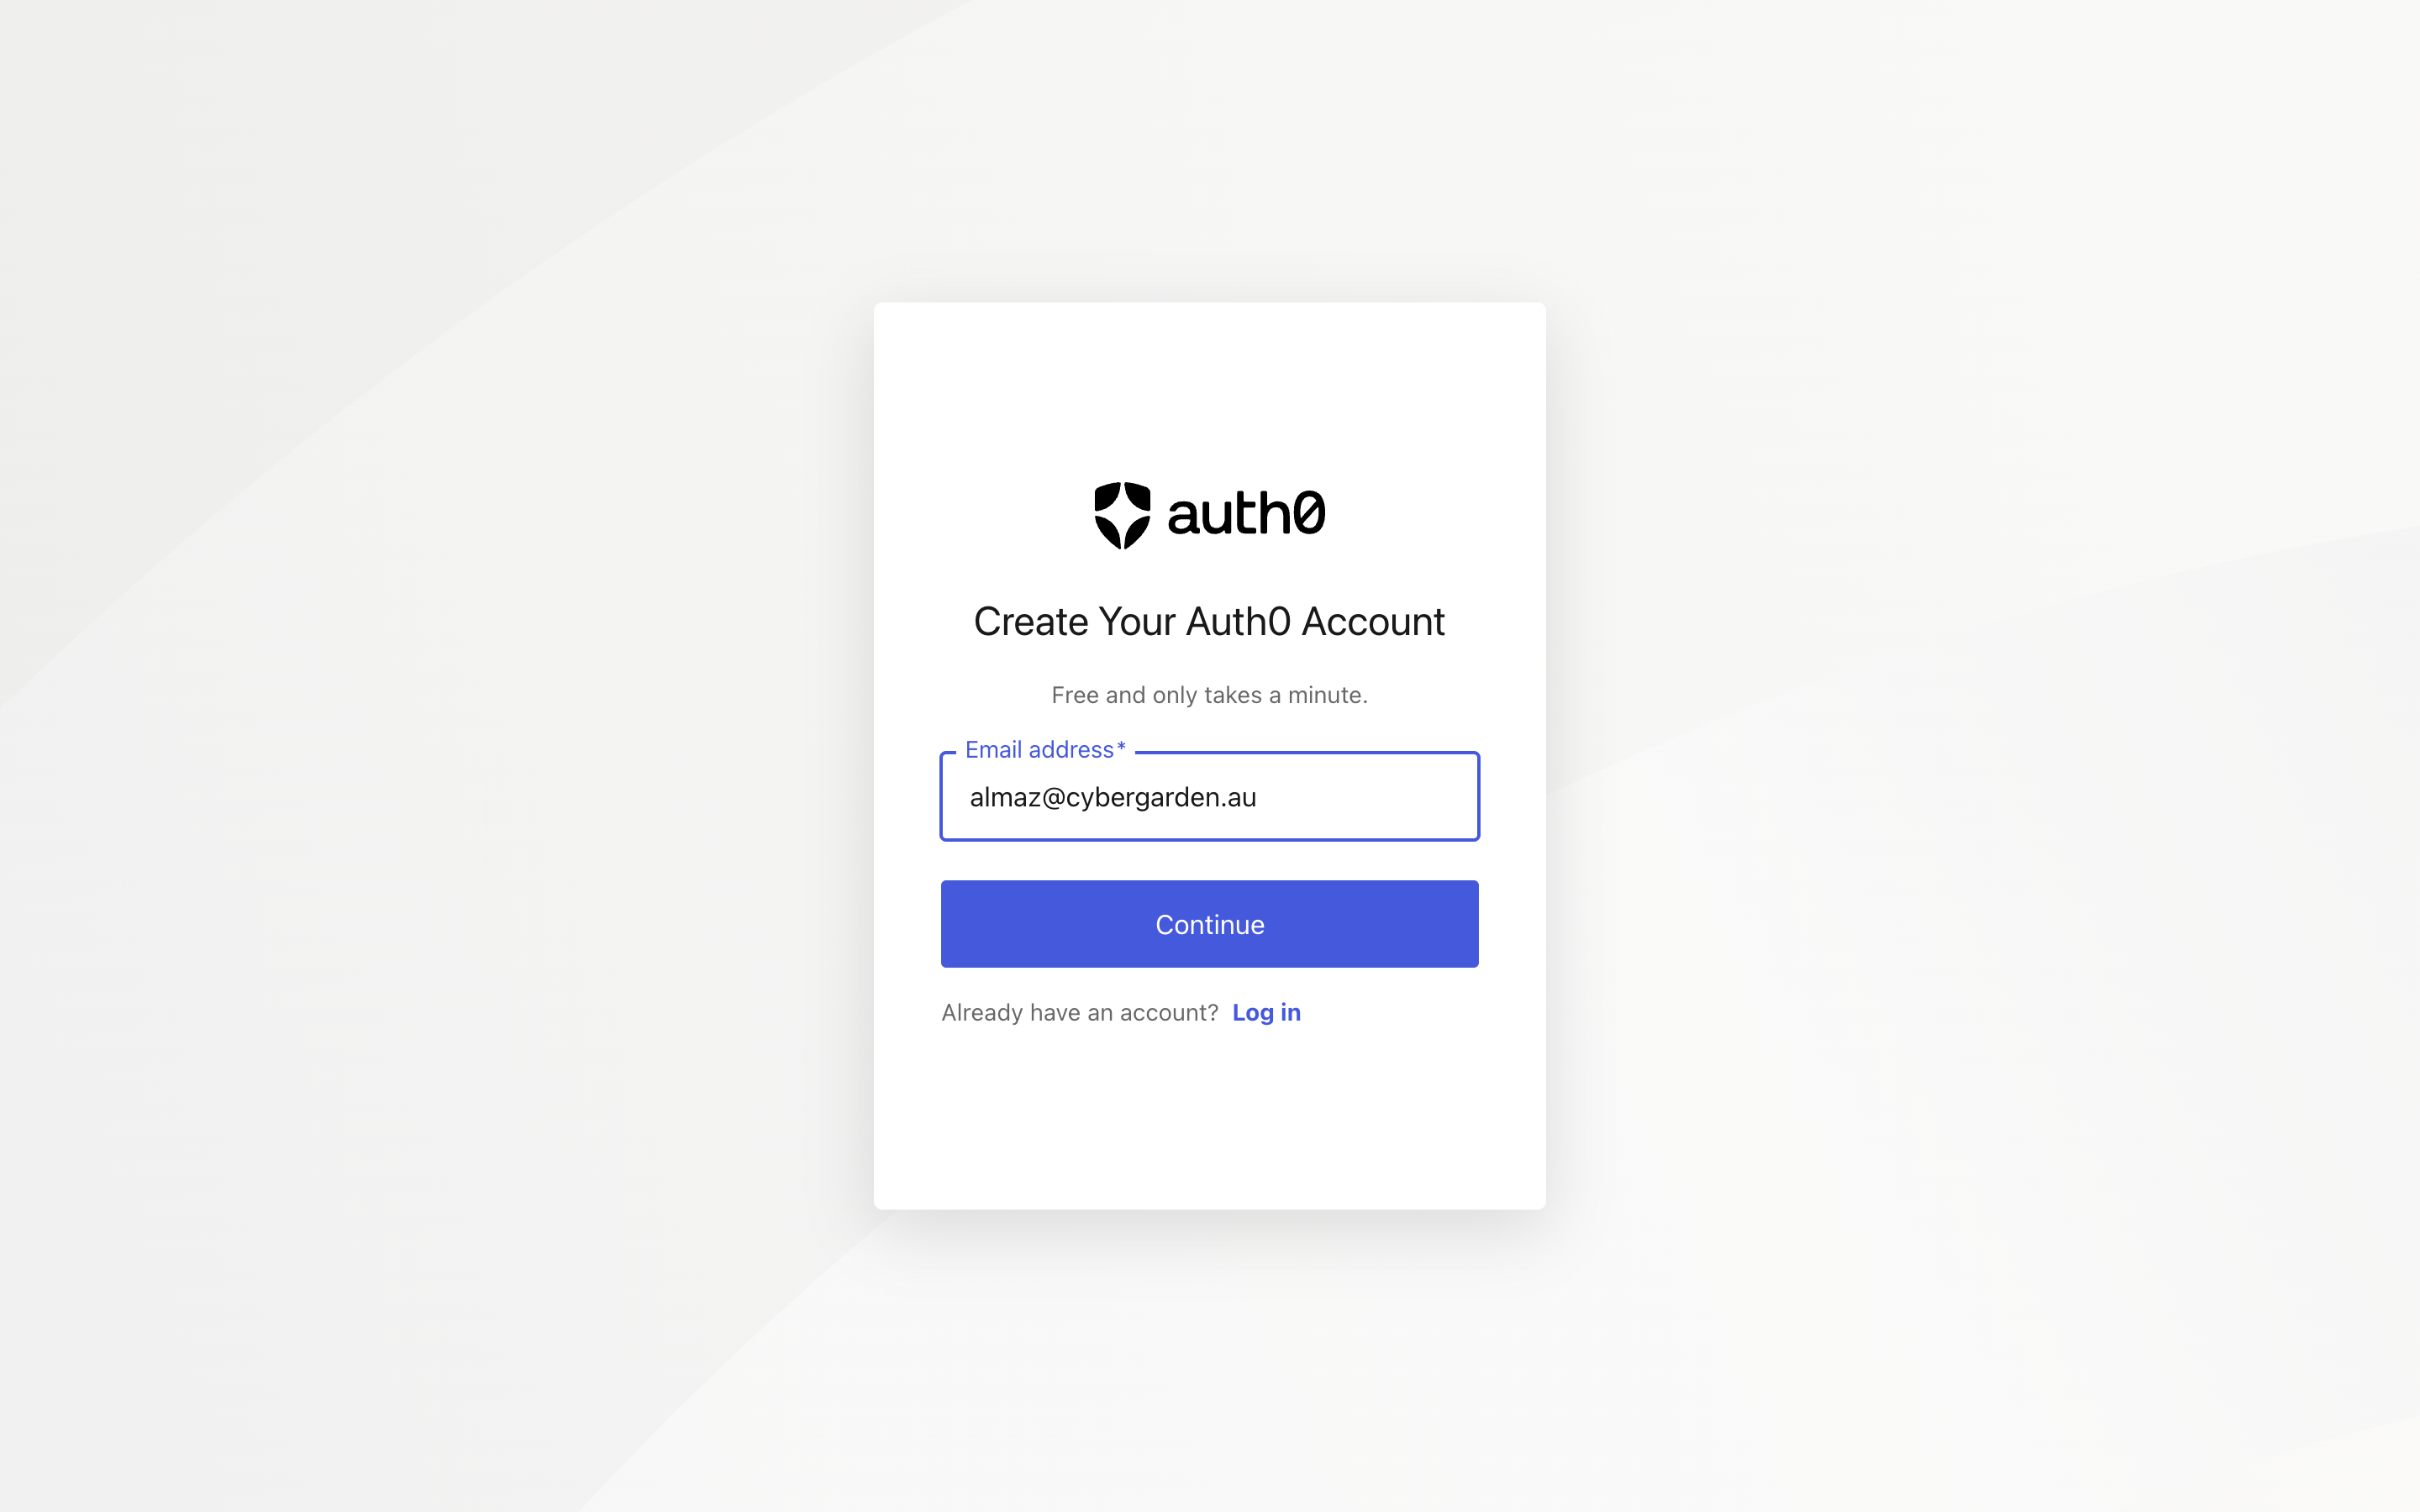
auth0.com/signup: email, a 6-digit code sent to your inbox, a password, done. The free plan includes everything this guide uses; the trial banner you’ll see only concerns paid features.
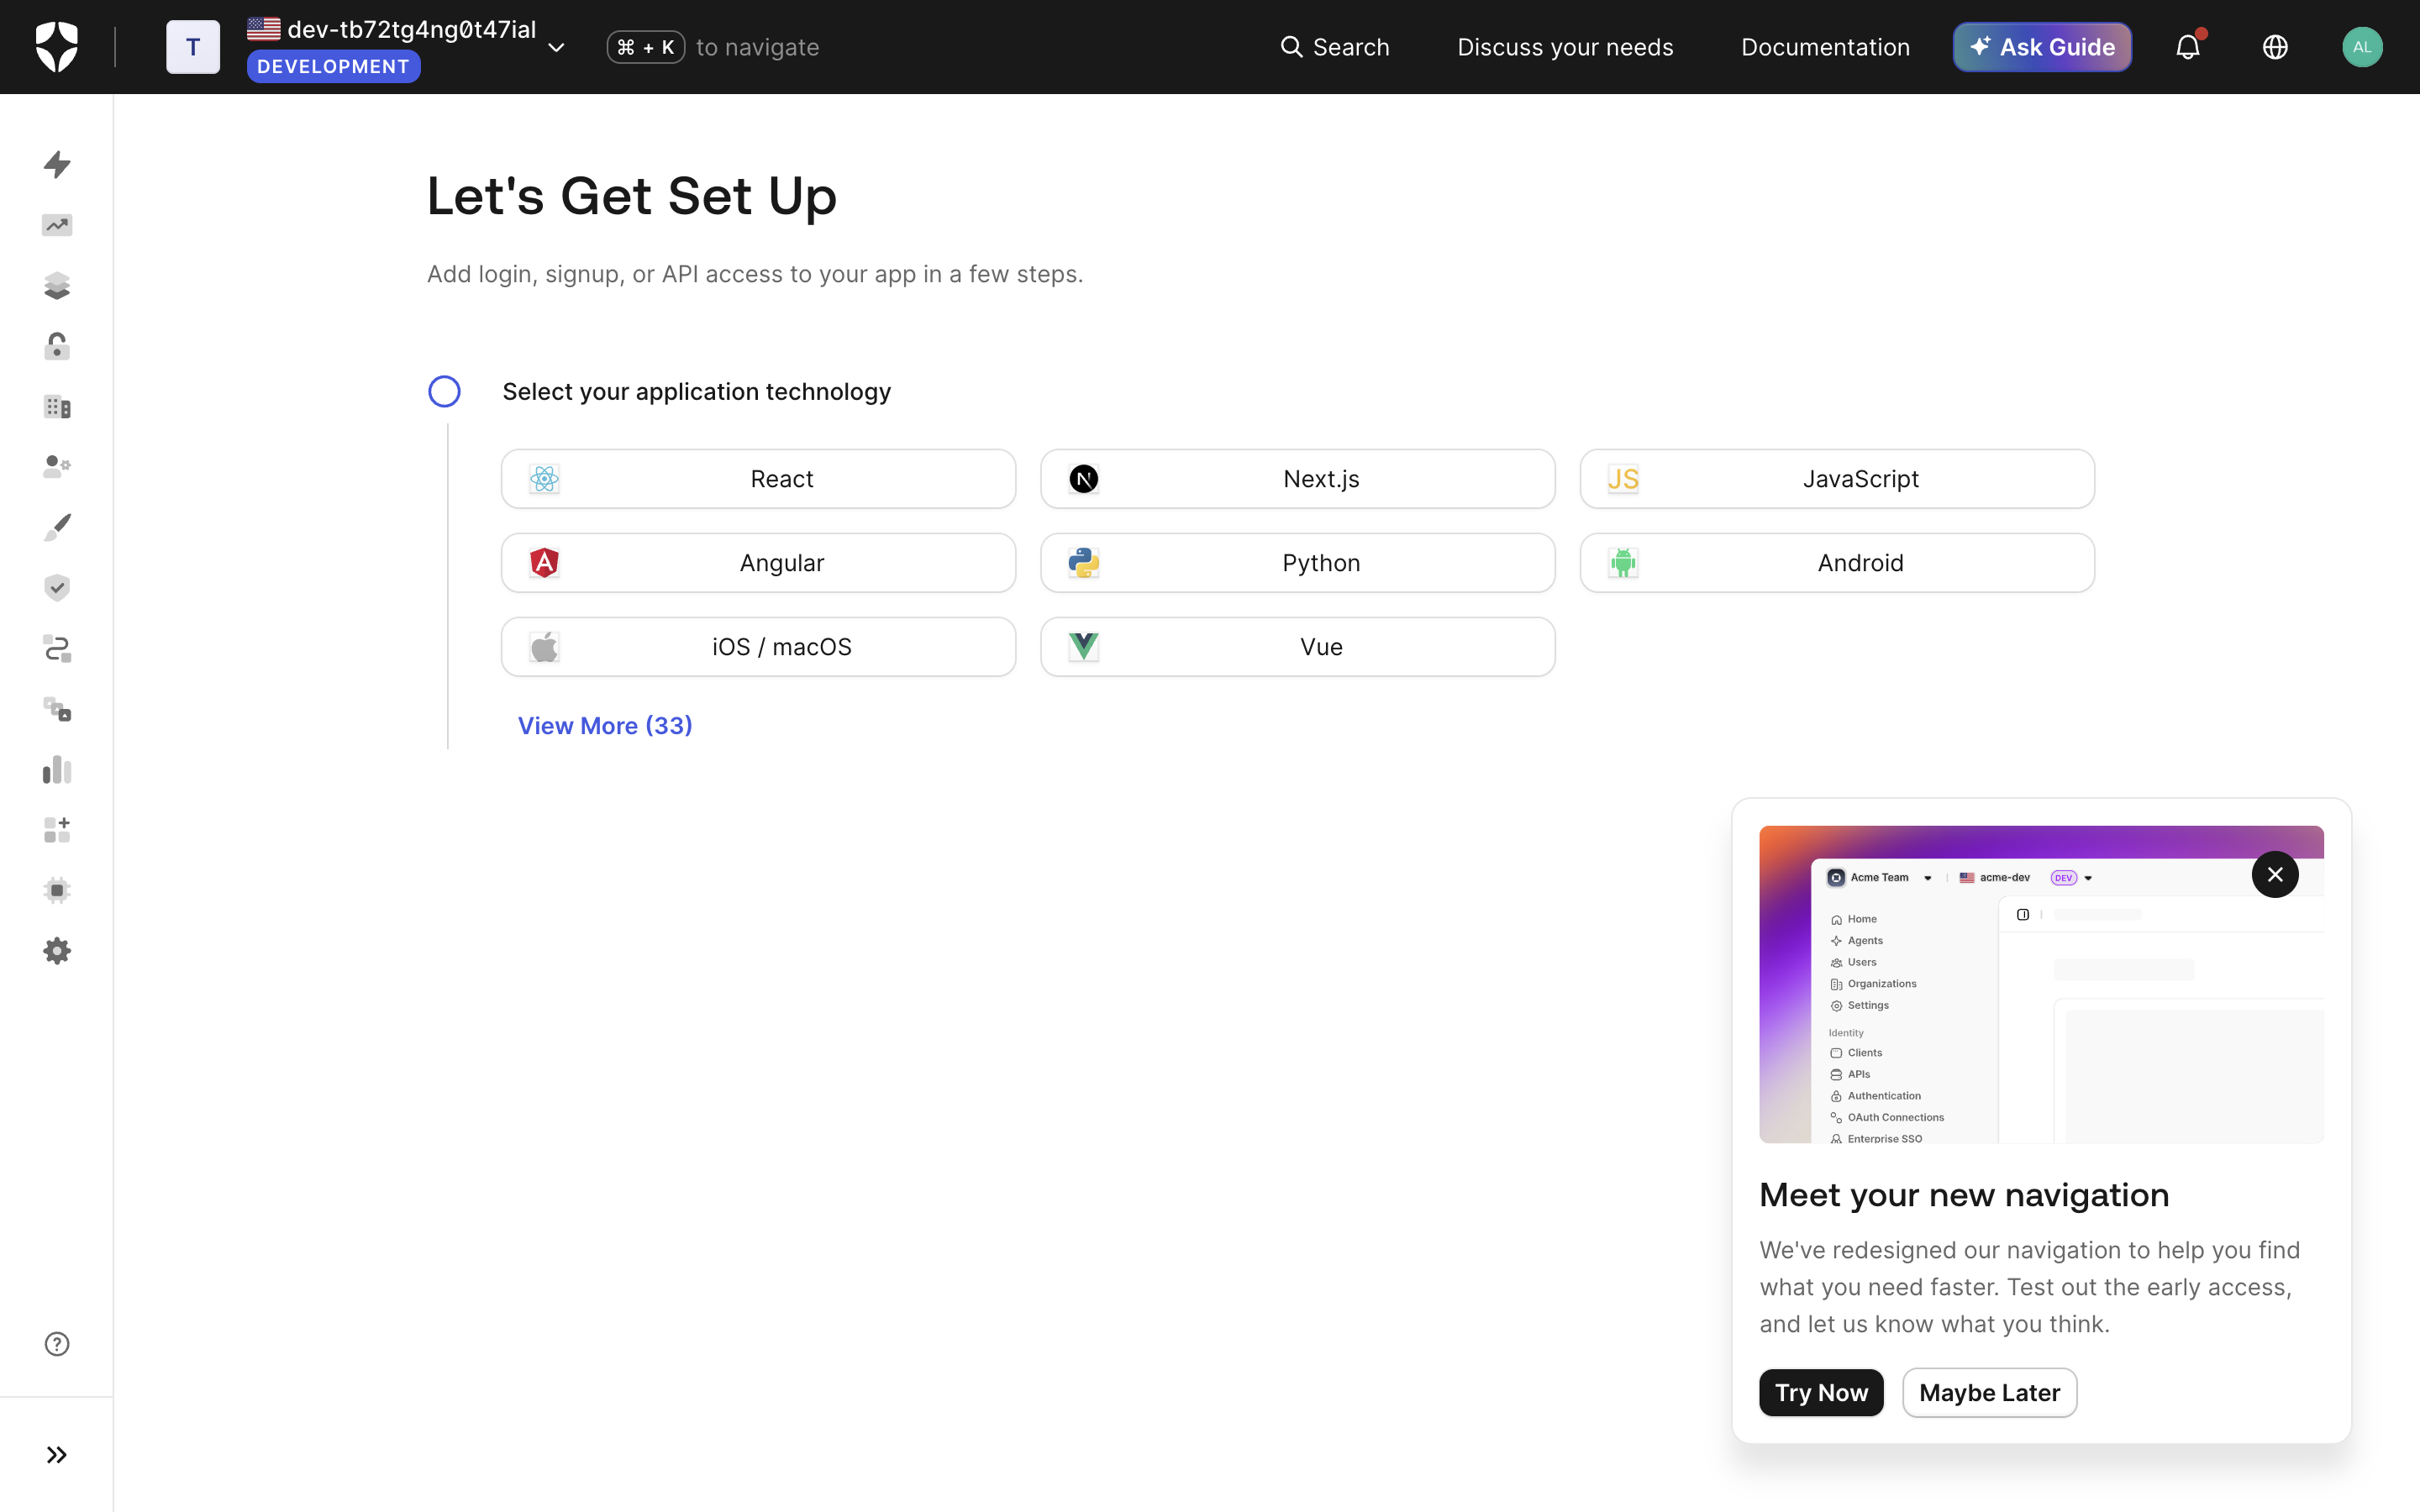
You get a dev tenant like dev-xxxxxxxx.us.auth0.com.
2. Get a Management API token
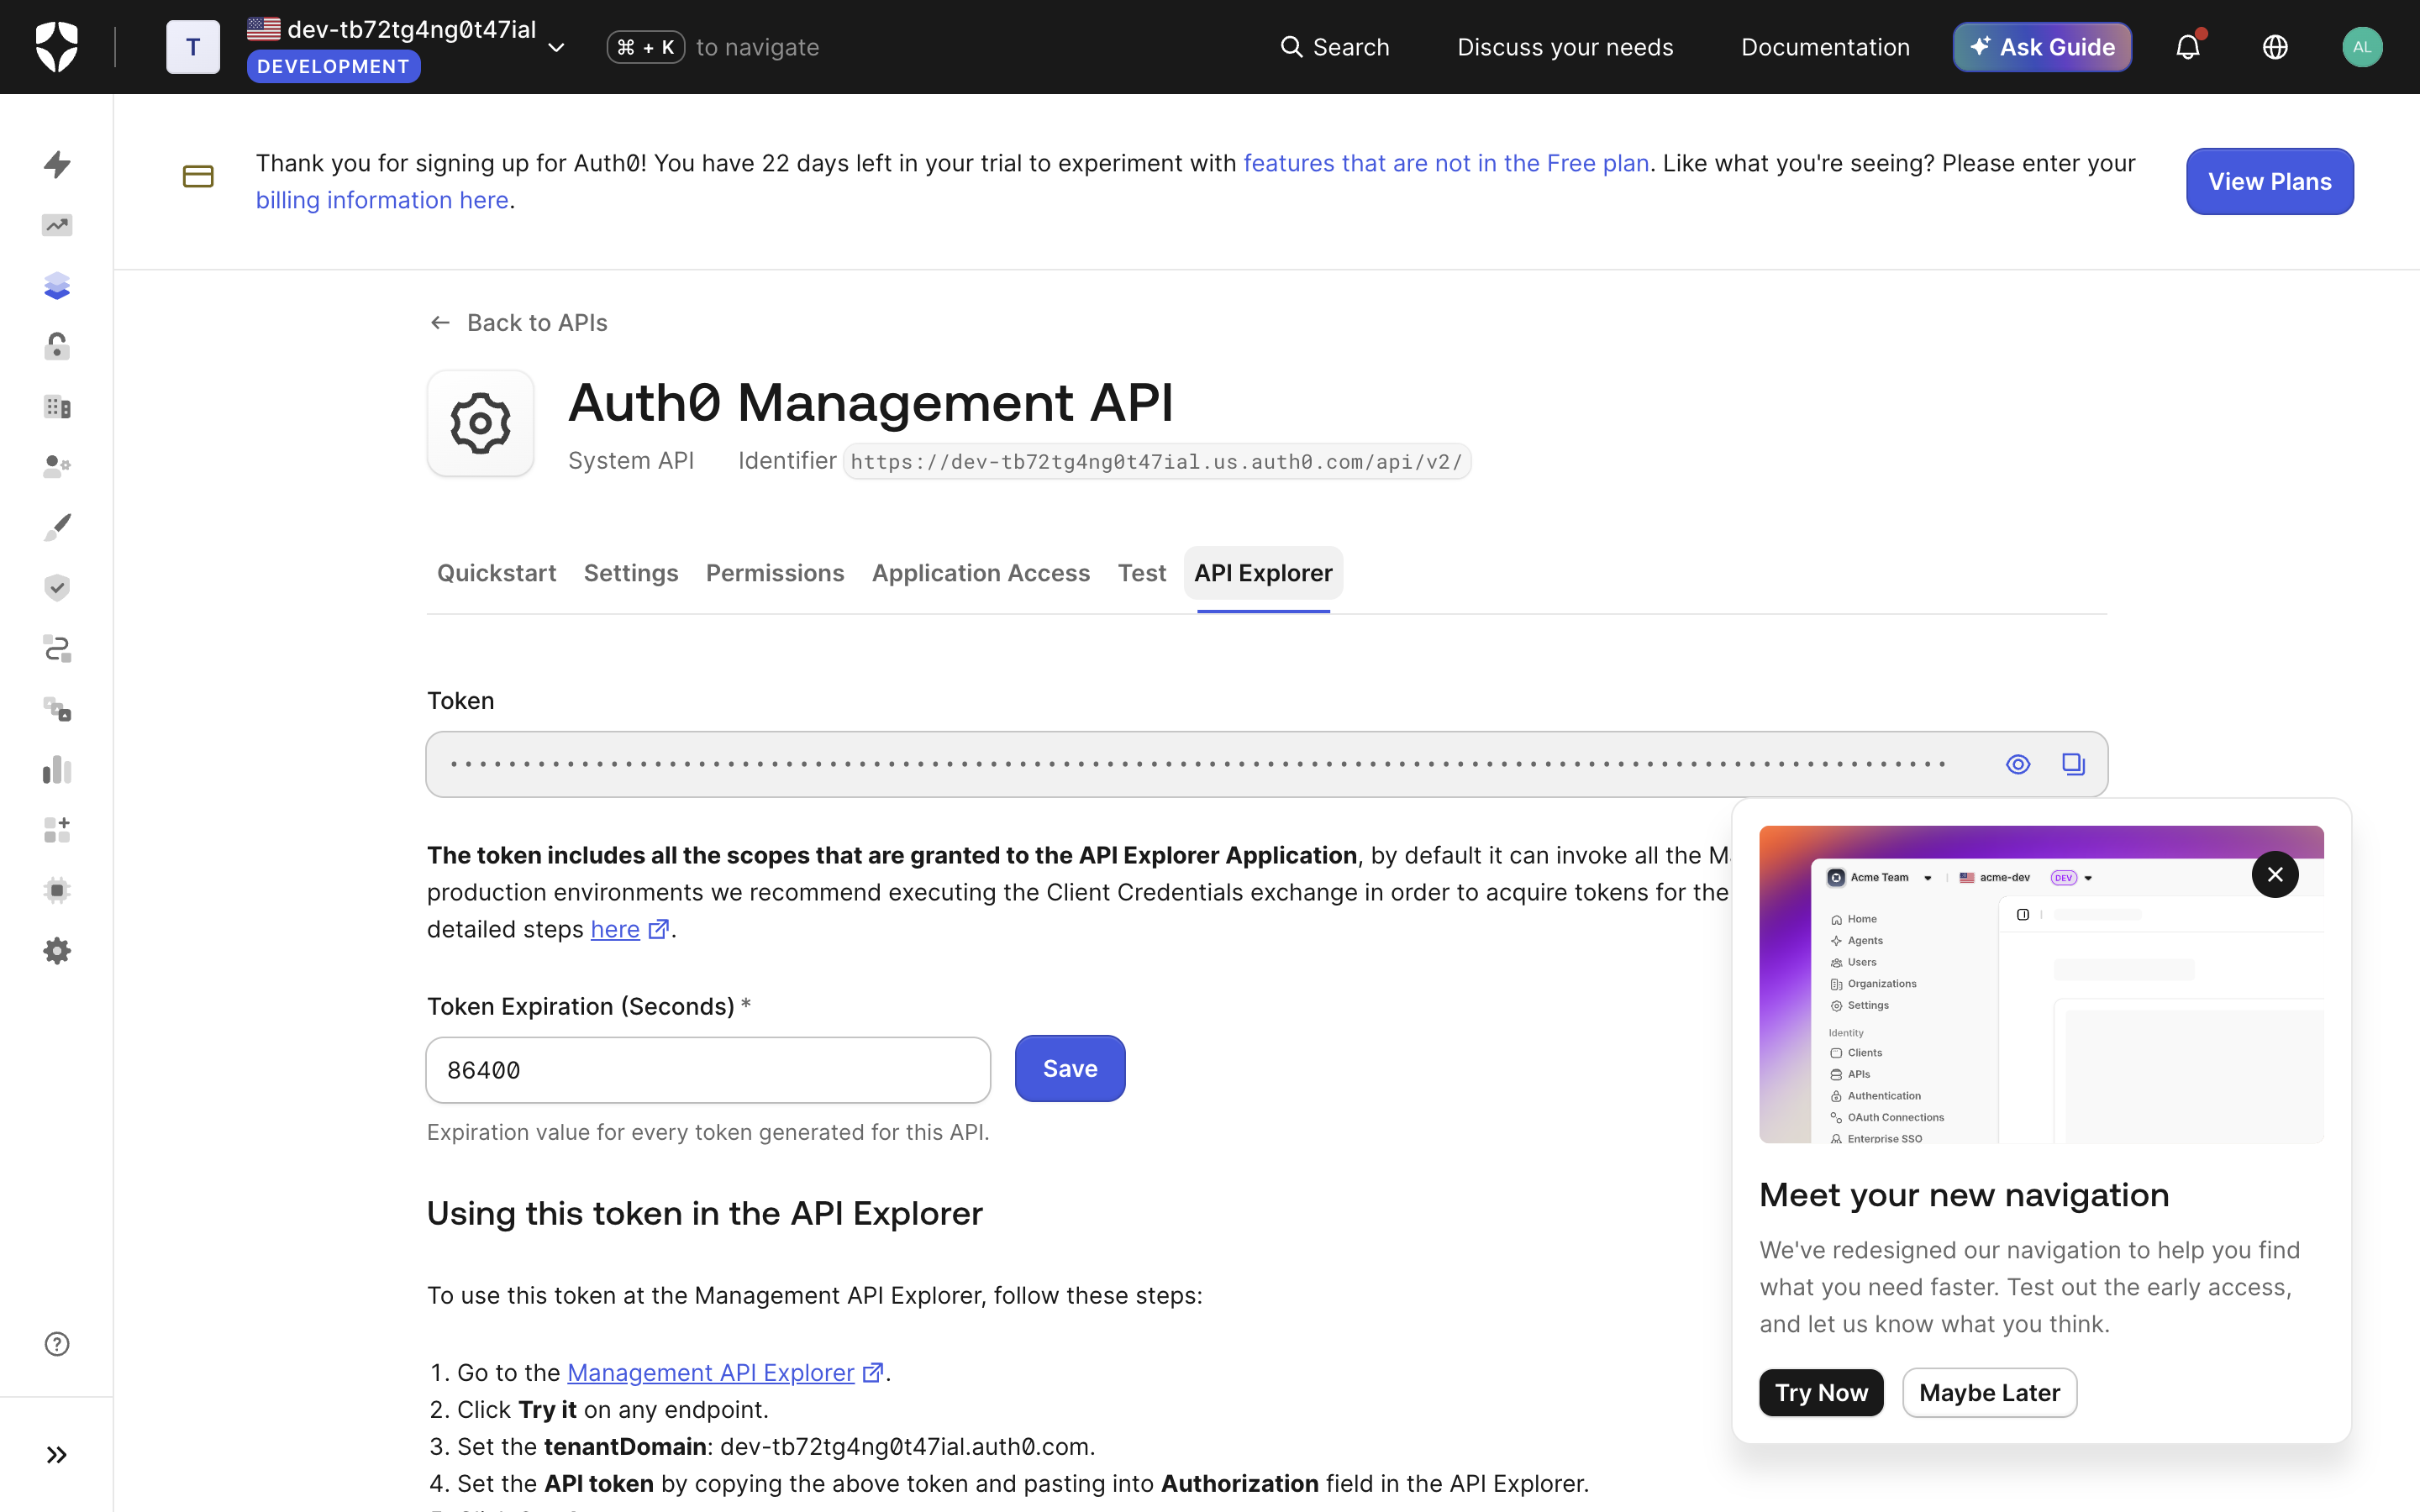
Dashboard → APIs → Auth0 Management API → API Explorer tab → “Create & Authorize Test Application”. Copy the token (24 h lifetime, all scopes). For production automation, mint scoped tokens via the client-credentials exchange instead.
3. Configure the tenant via the Management API
Three PATCH/POST calls do all the work. $TOK is the Management token, $D
your tenant domain, $AUD the exact URL of your MCP endpoint.
# enable OIDC dynamic client registration (what Claude/ChatGPT/Grok use)
curl -X PATCH "https://$D/api/v2/tenants/settings" \
  -H "Authorization: Bearer $TOK" -H 'content-type: application/json' \
  -d '{"flags":{"enable_dynamic_client_registration":true}}'

# native MCP support: resource parameter → audience, plus CIMD for ChatGPT
curl -X PATCH "https://$D/api/v2/tenants/settings" \
  -H "Authorization: Bearer $TOK" -H 'content-type: application/json' \
  -d '{"resource_parameter_profile":"audience","client_id_metadata_document_supported":true}'

# register your MCP server as an API (identifier = audience = the MCP URL)
curl -X POST "https://$D/api/v2/resource-servers" \
  -H "Authorization: Bearer $TOK" -H 'content-type: application/json' \
  -d '{"name":"my MCP","identifier":"'$AUD'","signing_alg":"RS256","allow_offline_access":true}'
Two more things DCR-registered (third-party) clients need:
# promote the database connection to domain level so dynamic clients can log users in
curl -X PATCH "https://$D/api/v2/connections/{connection_id}" \
  -H "Authorization: Bearer $TOK" -H 'content-type: application/json' \
  -d '{"is_domain_connection":true}'
Watch out: patching one tenant setting can reset resource_parameter_profile
(ours flipped from audience to compatibility after an unrelated PATCH).
Set it explicitly and re-read the settings afterwards.
4. Verify discovery and DCR before touching a browser
curl https://$D/.well-known/oauth-authorization-server
# issuer, /oidc/register as registration_endpoint, S256 all present

curl -X POST https://$D/oidc/register -H 'content-type: application/json' -d '{
  "client_name": "probe",
  "redirect_uris": ["https://claude.ai/api/mcp/auth_callback"],
  "token_endpoint_auth_method": "none",
  "grant_types": ["authorization_code", "refresh_token"],
  "response_types": ["code"]
}'
What we hit doing this for real:
- The DCR response contains no null or empty-string values (ChatGPT’s strict schema is satisfied without a scrub proxy, unlike Hydra).
- Registered clients get
tpc_…client IDs and a THIRD-PARTY badge in the dashboard.
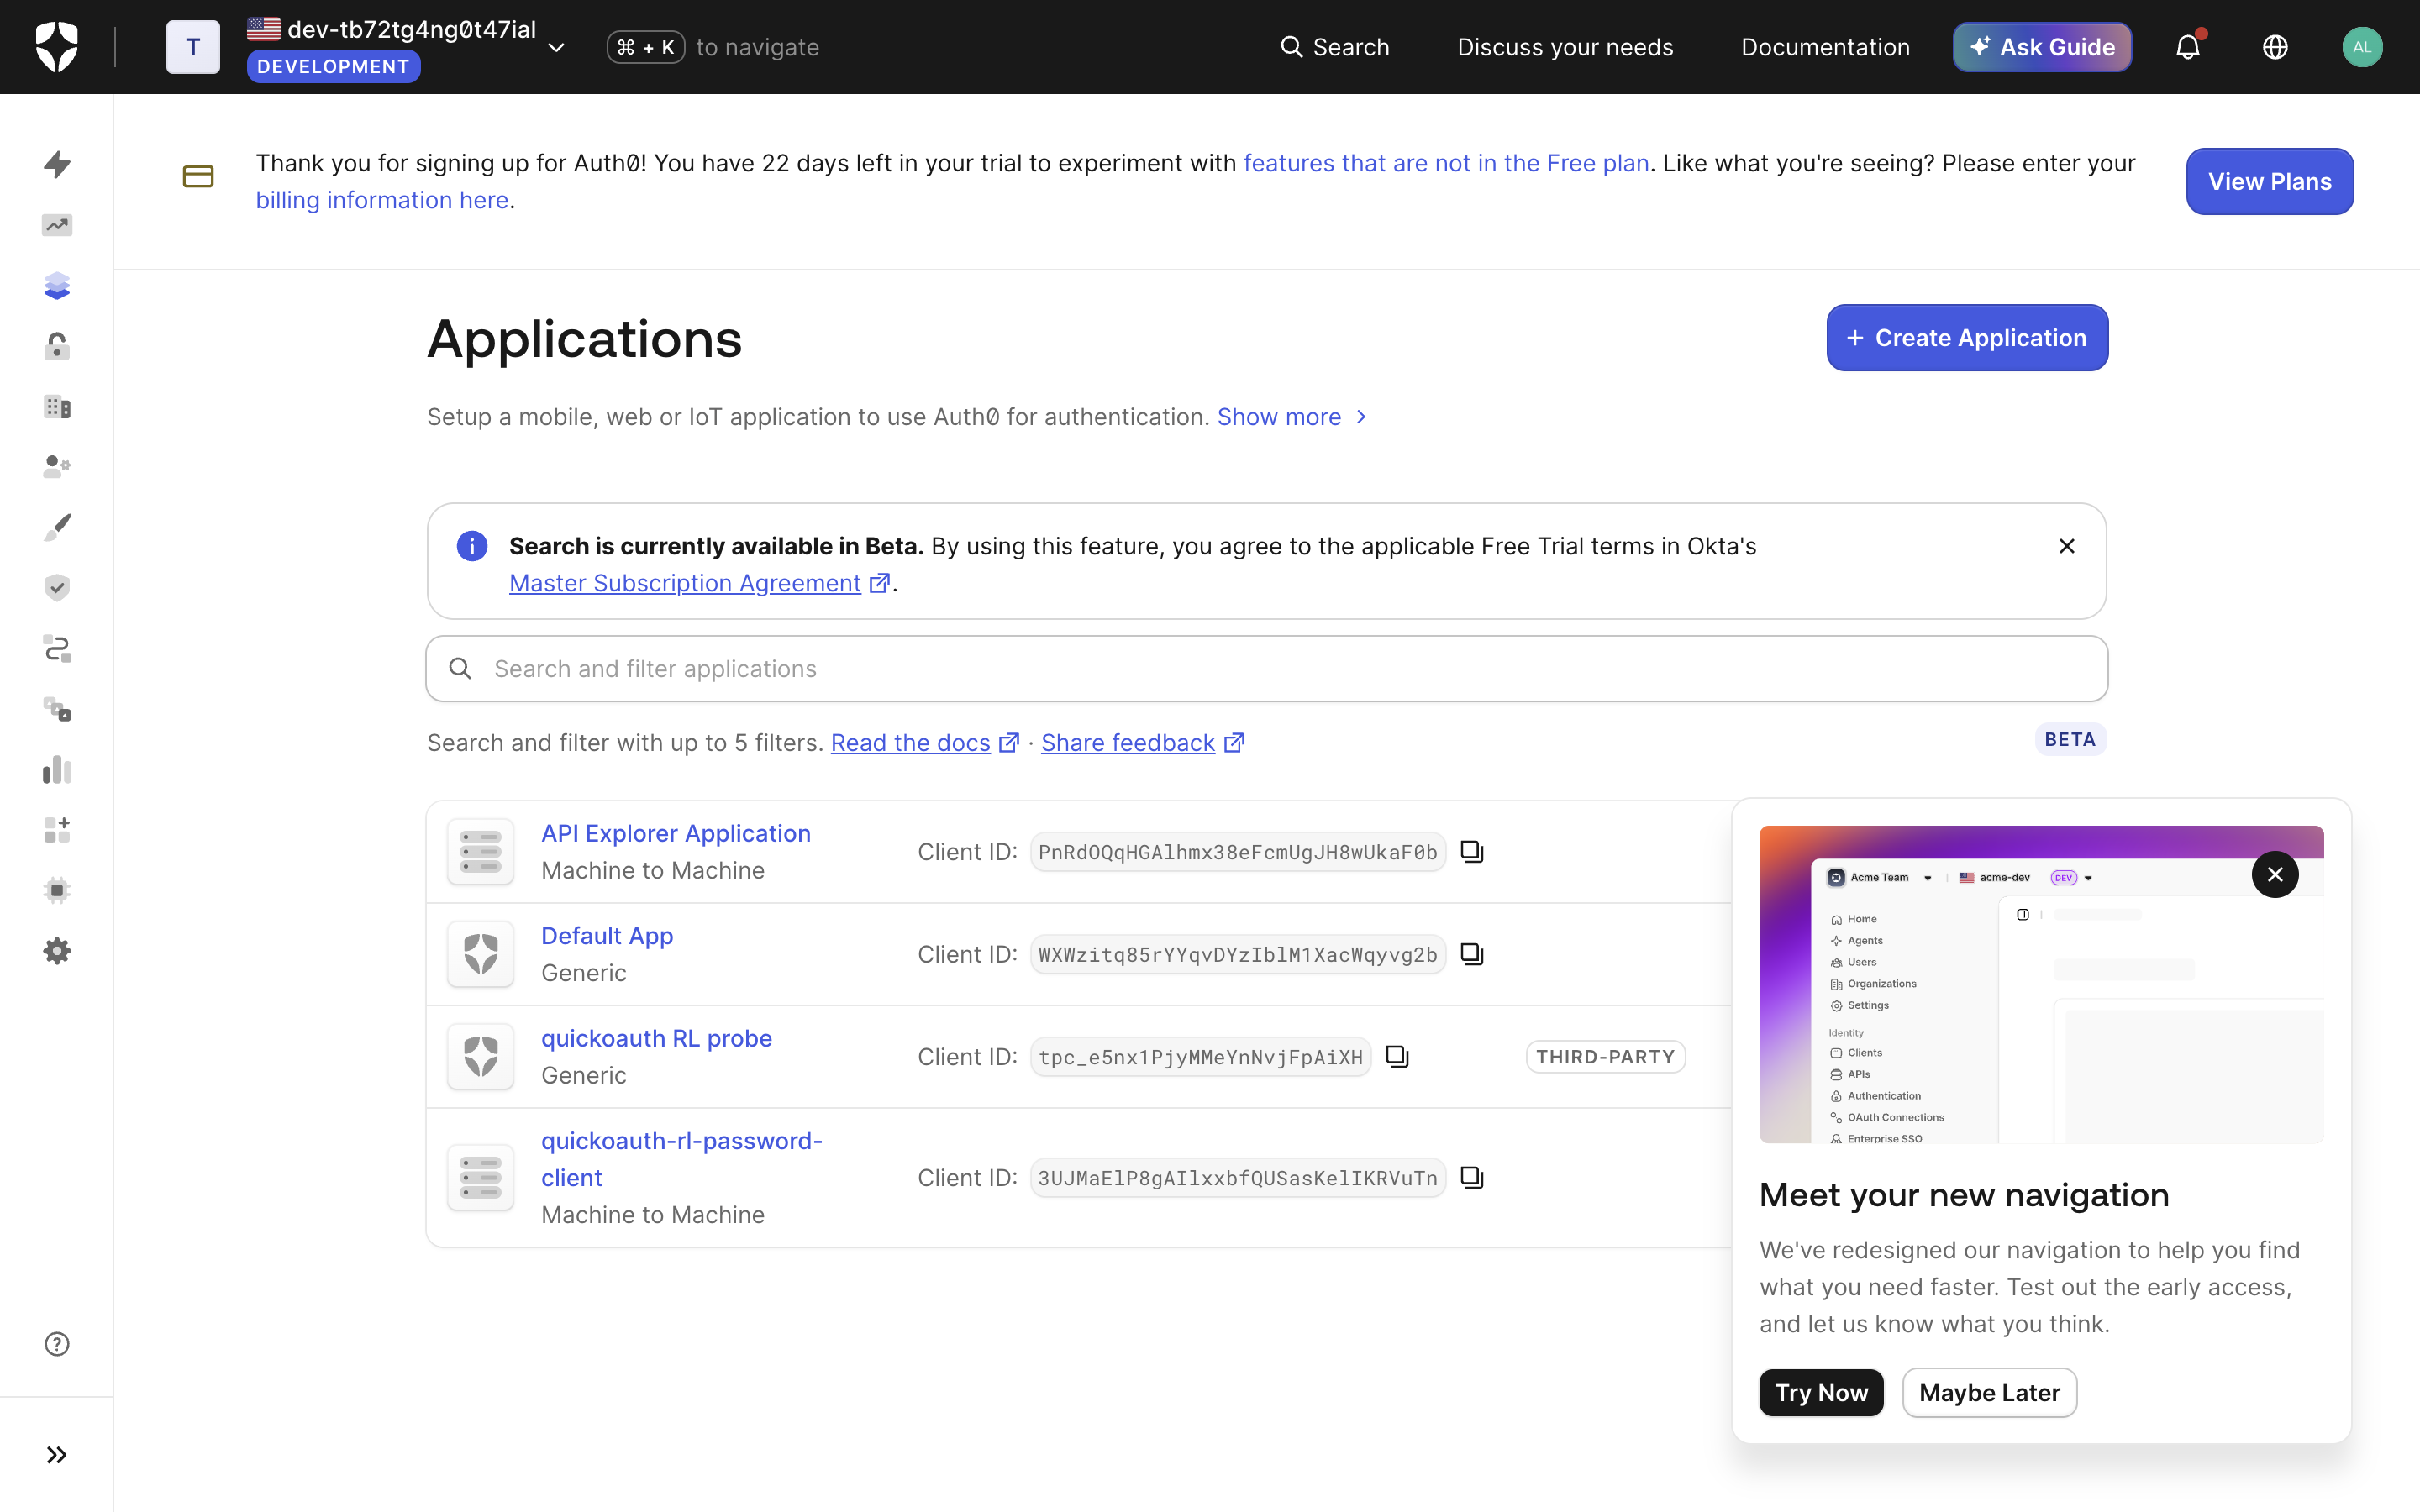
- A
client_secretis returned even withtoken_endpoint_auth_method: "none"(public clients just never use it). - There is no RFC 7592 management URI in the response: DCR clients accumulate in the tenant and must be pruned via the Management API.
- The metadata
issuerand every token’sissclaim carry a trailing slash (https://dev-….us.auth0.com/). Compare issuers exactly against that form in your resource server, but advertise the origin (no slash) in your protected-resource metadata’sauthorization_servers.
5. The resource server: 401 challenge + offline JWT validation
Your MCP server needs three behaviours: serve
/.well-known/oauth-protected-resource, answer unauthenticated requests with
401 + a WWW-Authenticate challenge naming that metadata URL, and validate
Bearer JWTs against the tenant’s JWKS (https://$D/.well-known/jwks.json,
RS256) checking iss (with the slash), aud (your MCP URL, delivered thanks
to the audience profile), and exp. Our reference implementation is ~150
dependency-free lines of Worker code,
RL/testbeds/lib/resource-worker.mjs in the quickoauth
repo, running live at the testbed URL above.
6. Prove the chain headlessly
For CI you don’t want a browser in the loop. Enable the password grant on a
test client, set the tenant’s default_directory to your database connection,
create a test user, and:
curl -X POST https://$D/oauth/token \
  -d grant_type=password -d "username=$TEST_USER" -d "password=$TEST_PASS" \
  -d "audience=$AUD" -d "client_id=$CID" -d "client_secret=$CSEC"
The returned access_token is a real RS256 user JWT with aud = your MCP
URL. Send it to your /mcp endpoint; a garbage token must get 401 back.
That exact sequence (discovery, DCR, token mint, authenticated MCP call,
negative test) is what our RL suite replays against this tenant on every
deploy.
Next steps
Finish the setup against your own tenant:
- Run the four-curl self-test from the connector checklist against your MCP domain: 401 probe, both metadata documents, DCR.
- Add the connector in claude.ai under Customize → Connectors and complete a real login.
- Extend the host allowlist and re-test for ChatGPT and Grok with one server, three connectors.
To hand the steps to an agent instead, copy the Auth0 native MCP prompt (auth0-mcp-native). On an older tenant without the audience profile, the thin-proxy architecture still applies; if the connector dialog fails, work through debugging connector failures. The same walkthrough exists for Stytch and Supabase.
Put it into practice
Auth0 as MCP authorization server: native, no proxy
Configure a 2026 Auth0 tenant for MCP connectors entirely through the Management API: DCR flag, resource-parameter audience profile, CIMD, and a JWKS-validating resource server.
Preview prompt
Set up my Auth0 tenant as the authorization server for my remote MCP server, using Auth0's native MCP support (no audience proxy). My tenant is MY_TENANT.us.auth0.com and my MCP endpoint is https://MY_DOMAIN/mcp [fill in both].

Tenant configuration: do all of it via the Management API (get a token from Dashboard → APIs → Auth0 Management API → API Explorer), and show me each curl:
1. PATCH /api/v2/tenants/settings with {"flags":{"enable_dynamic_client_registration":true}} so clients can self-register at /oidc/register (RFC 7591-compatible OIDC DCR).
2. PATCH resource_parameter_profile to "audience" so the RFC 8707 resource parameter MCP clients send is mapped to the audience, and set client_id_metadata_document_supported to true for ChatGPT's CIMD. Re-read the settings afterwards: patching one field can silently reset resource_parameter_profile.
3. POST /api/v2/resource-servers to create an API whose identifier is EXACTLY https://MY_DOMAIN/mcp with signing_alg RS256 and allow_offline_access true.
4. PATCH my database connection with {"is_domain_connection":true}; DCR clients are third-party and can only use domain-level connections.

Resource server behaviour (write or adapt my MCP server):
- Serve /.well-known/oauth-protected-resource with resource = https://MY_DOMAIN/mcp and authorization_servers = ["https://MY_TENANT.us.auth0.com"] (origin, no trailing slash).
- Reject unauthenticated requests with 401 (never 403) and WWW-Authenticate: Bearer realm plus resource_metadata pointing at that document.
- Validate Bearer JWTs offline against https://MY_TENANT.us.auth0.com/.well-known/jwks.json (RS256): check exp, aud = https://MY_DOMAIN/mcp, and iss = "https://MY_TENANT.us.auth0.com/"; Auth0's iss claim has a TRAILING SLASH; compare against exactly that.

Verification before I touch Claude (run these, show output):
- curl https://MY_TENANT.us.auth0.com/.well-known/oauth-authorization-server → issuer, registration_endpoint (/oidc/register), S256 all present.
- POST /oidc/register with redirect_uris ["https://claude.ai/api/mcp/auth_callback"], token_endpoint_auth_method "none", grant_types ["authorization_code","refresh_token"] → expect 201, a tpc_ client_id, and no null/"" values in the response. Note: a client_secret is returned even for public clients (unused), and there is NO RFC 7592 management URI, so probe clients must be deleted via the Management API.
- Headless end-to-end: enable the password grant on a test M2M client, set tenant default_directory to the database connection, create a test user, then POST /oauth/token with grant_type=password and audience=https://MY_DOMAIN/mcp; call the MCP endpoint with the resulting token and confirm a garbage token gets 401.

Never print secrets to logs; read them from environment variables.
Use this site from your agent
Add this URL as a connector in Claude, ChatGPT, or Grok. No sign-in required.
https://quickoauth.com/mcp